Care & Maintenance
Power Tool Maintenance: Carbon Brushes, Lubrication and Cleaning
How to clean power tools, when and how to replace carbon brushes, lubricating SDS chucks and gearboxes, and a simple maintenance schedule for drills, grinders and saws.
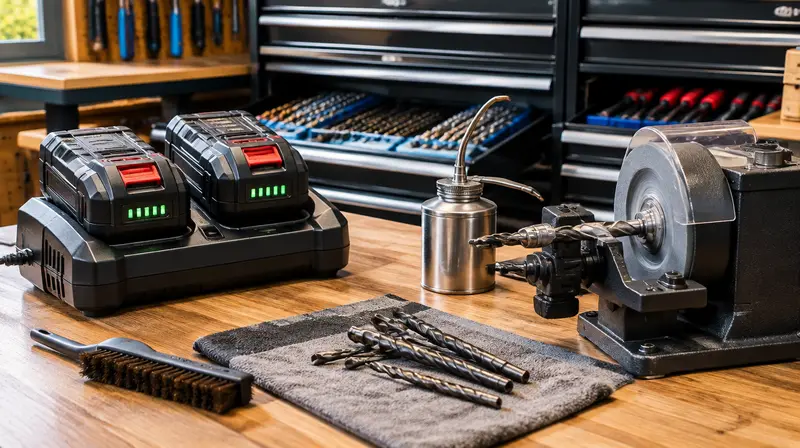
Most power tools die from dust, heat and neglect rather than old age. Five minutes of cleaning after a dusty job and a few simple checks can double a tool's life. This guide covers cleaning, carbon brush replacement on brushed motors, and lubrication.
Quick answer
- After dusty jobs: blow out vents with compressed air (motor running at no load, eye protection on) and wipe the tool.
- Brushed motors: check carbon brushes when sparking increases or power drops; replace in pairs.
- SDS bits: a small dab of SDS grease on the shank each time.
- Gearboxes: leave re-greasing to a service centre unless the manual shows a user procedure.
Cleaning
- Unplug or remove the battery (except when briefly running at no load to blow out dust).
- Brush off loose dust and wipe the housing with a damp cloth. Avoid solvents that damage plastic.
- Blow compressed air through the motor vents, ideally while the motor runs at no load so the fan helps flush dust out. Wear eye protection.
- Clean chucks with a brush; open and close the chuck fully a few times.
- Clean saw bases, jigsaw guide rollers and sander pads; remove resin from blades with a blade cleaner.
- Inspect cords, plugs and switches for damage.
- Clean battery terminals and charger contacts with a dry cloth.
Fine mineral dust is abrasive and gets into switches and bearings. Use dust extraction during work, and clean tools the same day.
Carbon brushes (brushed motors)
Brushed motors use two small carbon blocks pressed by springs against the rotating commutator. They wear down over time. Brushless motors do not have them.
Signs brushes are worn
- Heavy sparking visible through the vents (some small sparks are normal)
- Loss of power, stuttering, or the tool stopping and starting
- Tool stops completely (many brushes have auto-stop tips that stop the motor before damage)
How to replace them
- Unplug the tool. Find the brush access caps on the sides of the motor housing (on some tools, you must open the housing).
- Unscrew the caps and pull out the brushes, noting orientation.
- Compare the length with the manual's minimum length or the new brushes.
- Fit genuine replacement brushes (always both), ensuring they slide freely.
- Run the tool at no load for a few minutes to bed the brushes in.
Lubrication
| Part | What to do |
|---|---|
| SDS-plus/max bit shanks | Clean, then a small dab of SDS/chisel grease every time you insert a bit |
| Keyless chucks | Clean; a drop of light oil occasionally if the manual permits |
| Mitre saw slide rails | Clean; dry lubricant (avoid oily products that attract dust) |
| Air tools | A few drops of air tool oil in the inlet before use (unless oil-free design) |
| Gearboxes | Sealed on most tools; service centre re-greases during servicing |
| Hand tools (pliers, wrenches) | Light oil on joints; wipe off excess |
Simple maintenance schedule
| When | Task |
|---|---|
| After each use | Wipe down, remove dust, check accessories, remove battery |
| Monthly (regular use) | Blow out vents, inspect cords, clean chucks and bases |
| Every 6–12 months | Check brushes, blades, guards, fasteners; test RCD-protected leads |
| As needed | Sharpen or replace bits and blades; see sharpening |
Frequently asked questions
Do cordless tools need maintenance?
Less than corded ones, especially brushless models, but they still need dust removal, clean contacts and good battery care.
Can I use WD-40 on my tools?
For cleaning and rust prevention on hand tools, yes. It is not a long-term lubricant for gearboxes or SDS shanks.
This guide is general information, not professional advice. Always read your tool's manual, use the right protective equipment and follow local building and electrical codes. See our disclaimer.