Electronics & Appliance Repair
Opening Tools for Phones, Laptops and Consoles: Picks, Spudgers and Suction Cups
The tools used to open glued and clipped electronics safely: opening picks, spudgers, suction handles, heat pads, plastic cards and tweezers, and how to use them without damage.
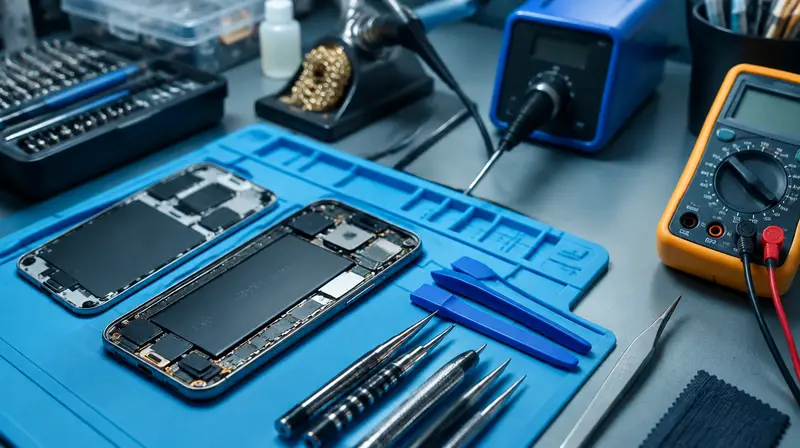
Many modern devices are held together not just by screws but by adhesive and plastic clips. Prying them open with a metal knife or flat screwdriver is the fastest way to crack a screen, cut a cable or puncture a battery. Dedicated opening tools are cheap, and they make repairs far safer.
Opening tool kit
- Opening picks (thin plastic guitar-pick shaped)
- Spudgers (nylon and anti-static) and a metal spudger for tough spots
- Suction handle for lifting screens and back glass
- Heat source: iOpener-type heat pad, hair dryer or heat gun on low
- Tweezers (straight and angled, ESD-safe)
- Isopropyl alcohol (90%+) to soften adhesive
Tool by tool
| Tool | Use | Tip |
|---|---|---|
| Opening picks | Sliced into seams to cut adhesive and hold gaps open | Insert shallowly near cables; use several to keep the gap open |
| Plastic / nylon spudger | Prying clips, disconnecting connectors, lifting parts | Non-conductive; safe near circuits |
| Metal spudger / thin blade | Very tight gaps, stubborn clips | Use with great care; can scratch and short circuits |
| Suction handle | Creating an initial gap in screens and glass backs | Needs a clean, flat surface; heat adhesive first |
| Anti-clamp / pliers-style opener | Even pull on phone screens with two suction cups | Controlled force; less risk of cracking |
| Plastic cards | Slicing long adhesive strips (e.g. battery adhesive, tablet screens) | Do not bend batteries |
| Heat pad / hair dryer / heat gun (low) | Softening adhesive | Aim for warm to touch, around 60–80°C; never overheat batteries |
| Tweezers | Small parts, cables, adhesive tabs | ESD-safe, non-magnetic for fine work |
How to open a glued phone or tablet (general method)
- Power off the device completely. If the screen or back glass is cracked, cover it with packing tape to hold shards and help the suction cup stick.
- Remove any external screws (e.g. Pentalobe screws on iPhones). See precision screwdrivers.
- Warm the edge with a heat pad or hair dryer for a minute or two until warm to the touch.
- Apply a suction handle near the edge (usually the bottom), pull gently to create a small gap.
- Insert an opening pick into the gap, just a few millimetres.
- Slide the pick around the edge to slice adhesive, inserting extra picks to hold it open. Re-heat as needed.
- Know where the flex cables are (check a model-specific guide). Do not insert picks deeply near cables, and open the device in the correct direction like a book.
- Disconnect the battery connector first with a plastic spudger before working on anything else.
Never pry against, bend, or puncture a lithium battery. If a battery swells, smokes or gets hot, move away and follow the advice in our electronics repair safety guide.
Laptops and consoles
Laptops and game consoles often use plastic clips around the edges after removing screws. Start at a corner or near a hinge, use a nylon spudger or a guitar pick, and work around the edge releasing clips one by one. Look for hidden screws under rubber feet and labels before prying.
Reassembly and adhesive
- Remove old adhesive completely with tweezers and isopropyl alcohol.
- Use model-specific pre-cut adhesive or suitable double-sided adhesive for displays and back glass.
- Test the device before sealing it permanently.
- Water resistance ratings are unlikely to be fully restored after DIY repair.
Frequently asked questions
Can I use a knife instead of a pick?
It is risky. Metal blades can scratch, cut flex cables and puncture batteries. Plastic picks are cheap and safer.
How hot should I heat the adhesive?
Warm to the touch, roughly 60–80°C at the surface. Overheating damages screens and batteries.
This guide is general information, not professional advice. Always read your tool's manual, use the right protective equipment and follow local building and electrical codes. See our disclaimer.