Projects & How-To
How to Assemble Flat-Pack Furniture Without Stripped Screws or Wobbles
Pro tips for assembling flat-pack furniture: tools, preparation, using a drill-driver safely, cam locks, dowels, squaring cabinets and anchoring tall units to the wall.
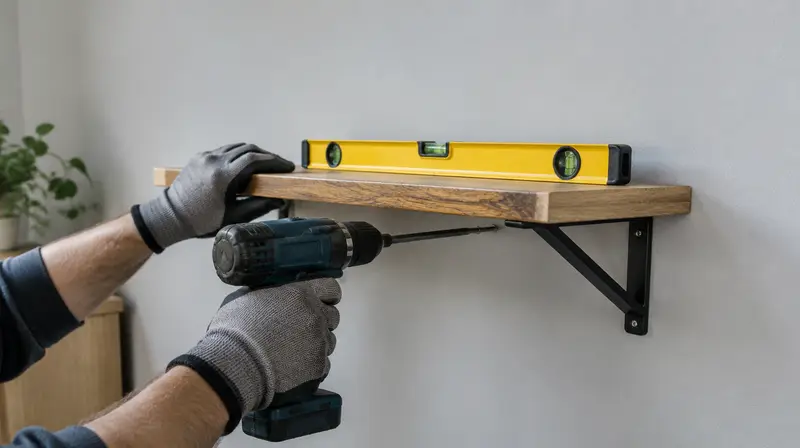
Flat-pack furniture is designed to be assembled by anyone, but small mistakes add up: a stripped screw here, a back panel nailed on out of square there, and you end up with a wardrobe that wobbles. These tips make assembly faster and give a sturdier result.
Tools
- Screwdrivers PH2 and PZ2 (check the screws), flat screwdriver
- Hex keys (supplied, or a better set with a handle)
- Drill-driver with clutch (optional; low setting)
- Rubber mallet
- Utility knife
- Tape measure, spirit level
- Wall anchors for anti-tip kits
Step 1: Prepare the space
- Clear a large area and work on the flattened cardboard to protect floors and panels.
- Build large wardrobes in the room where they will stand, and check ceiling height: tall units must be tilted upright, which needs more height than the unit itself.
- Open boxes carefully with a knife held shallow so you do not scratch panels.
Step 2: Check and sort the parts
- Count hardware against the instructions and sort it into cups or a muffin tin.
- Identify panels by their labels or part numbers.
- Read the instructions all the way through before starting; note which way panels face (finished edges, pre-drilled holes).
Step 3: Use the right tool for each fixing
| Fixing | Tool | Tip |
|---|---|---|
| Wooden dowels | Mallet | A dab of wood glue makes joints stronger (optional unless you plan to dismantle) |
| Cam locks (round metal discs) | Screwdriver by hand | Turn until snug (usually half a turn); never power-drive |
| Small screws into chipboard | Screwdriver or drill on lowest clutch | Finish by hand |
| Hex bolts / connector bolts | Hex key | Do not fully tighten until the frame is assembled and square |
| Back panel nails | Small hammer | Square the carcass first |
Step 4: Using a drill-driver safely
- Low gear (1), clutch at a low number, slow trigger.
- Use it to drive screws most of the way, then finish by hand.
- Stop at the first clutch click. Chipboard threads strip easily and do not recover.
Step 5: Square the frame
Before fixing the back panel, measure the two diagonals of the carcass. When they are equal, the unit is square. Adjust by pushing the longer diagonal corners together, then nail or clip the back panel. A square carcass is what stops wobbling and makes doors align.
Step 6: Doors and drawers
- Most concealed hinges have three adjustment screws: side-to-side, depth and height. Adjust gradually until gaps are even.
- Drawer runners must be level and parallel; check with a level and adjust before overtightening.
Step 7: Anchor tall furniture to the wall
Tall and heavy furniture (wardrobes, bookcases, chests of drawers) can tip over and seriously injure children. Always install the anti-tip restraint, using wall fixings suitable for your wall type. The screws supplied may not suit your wall. See choosing wall anchors.
Fixing common problems
- Stripped screw hole in chipboard: fill with wood glue and a few toothpicks or a dowel, let it set, then re-drive; or move the fixing slightly if possible.
- Wobbly unit: check it is square, tighten connectors, and level the floor with shims or adjustable feet.
- Doors misaligned: adjust hinges and ensure the carcass is square and level.
Frequently asked questions
Can I use an impact driver for furniture?
No. It is far too powerful for chipboard and small screws.
Should I glue the dowels?
Glue makes joints stronger but prevents disassembly. For units you might move or dismantle later, skip it.
This guide is general information, not professional advice. Always read your tool's manual, use the right protective equipment and follow local building and electrical codes. See our disclaimer.